Following are the steps to install Apache Tomcat and add it into Eclipse Kepler or Luna:
- In Eclipse Kepler, go to Help, select 'Install New Software'
- Choose "Kepler- http://download.eclipse.org/releases/kepler" site or add it in if it's missing. If you're using Luna, choose "Luna - http://download.eclipse.org/releases/luna" site or add it in if it's missing
- Expand "Web, XML, and Java EE Development" section
- Check **JST Server Adapters** and **JST Server Adapters Extensions**
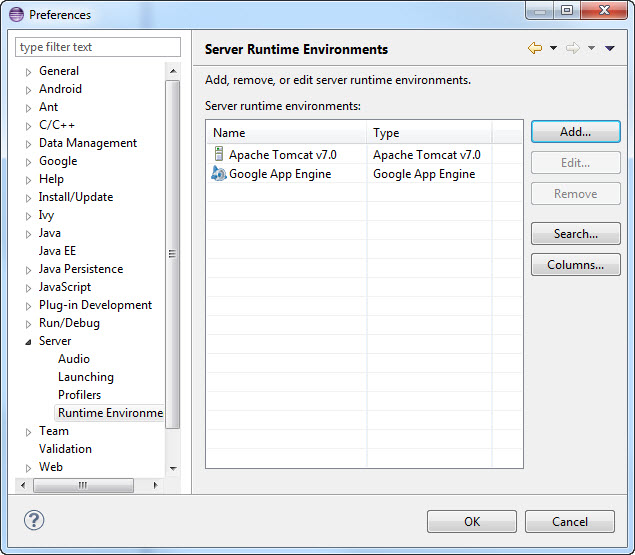
- Once installed, in Eclipse, go to Window / Preferences / Server / Runtime Environments
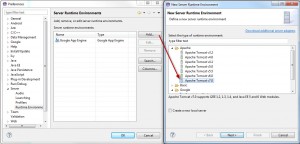
- [](http://www.joe0.com/wp-content/uploads/2014/03/3-24-2014-10-22-14-AM.jpg)Press Add button, select Apache / Apache Tomcat v7.0 or Apache Tomcat v8.∞
- [](http://www.joe0.com/wp-content/uploads/2014/03/3-24-2014-10-26-35-AM.jpg)Press Next, select location on the drive (i.e. c:\apachetomcat) for Tomcat installation directory. Make sure that the directory exist.
- Then press 'Download and Install' button, accept terms and point to your installation directory (i.e. c:\apachetomcat) and press OK button
- Apache TomCat v7.0 will install (you'll see a progress in the status bar
- Press Finish.
- Apache Tomcat v7.0 or Tomcat v8.0 (depending on your selection) will show in the list under Server Runtime Environments now.