Following are the instructions for installing LAMP stack onto CentOS 7 or RHEL 7. LAMP stack commonly refers to a Linux installation of Apache, MySQL and PHP, which allow you to run full fledged web server with support for scripts and databases on a Linux server. In our case we'll be installing: Apache HTTP Server vs 2.4, PHP 5.4.16 programming language and MariaDB 5.5.37 Server (a community-developed fork of the MySQL relational database management system).
Prerequisites:
Login to your remote server over SSH with root credentials. Ideally you should use putty, which supports copy and paste.
1. APACHE INSTALLATION
We'll use YUM (open-source package-management utility) to do this, so let's start with updating YUM packages to make sure we're getting the latest Apache version. Run following command:
yum check-update
Now let's check what version of Apache 2.4 is available for download:
yum list httpd
You should see something like this being outputted to your console:
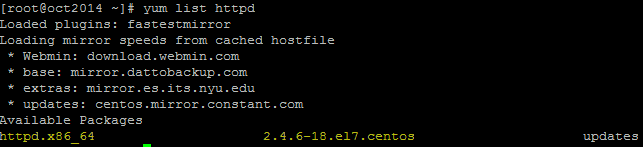
In my case and because I am using 64bit version of CentOS 7 operating system, I can see that the latest available version of Apache is version: 2.4.6 (package name: 2.4.6-18.el7.centos)
Now we can go ahead and start installation of Apache 2.4.6 form the official repositories, which will also install Apache dependencies such as apr, apr-util, httpd-tools, mailcap, etc.
yum install httpd
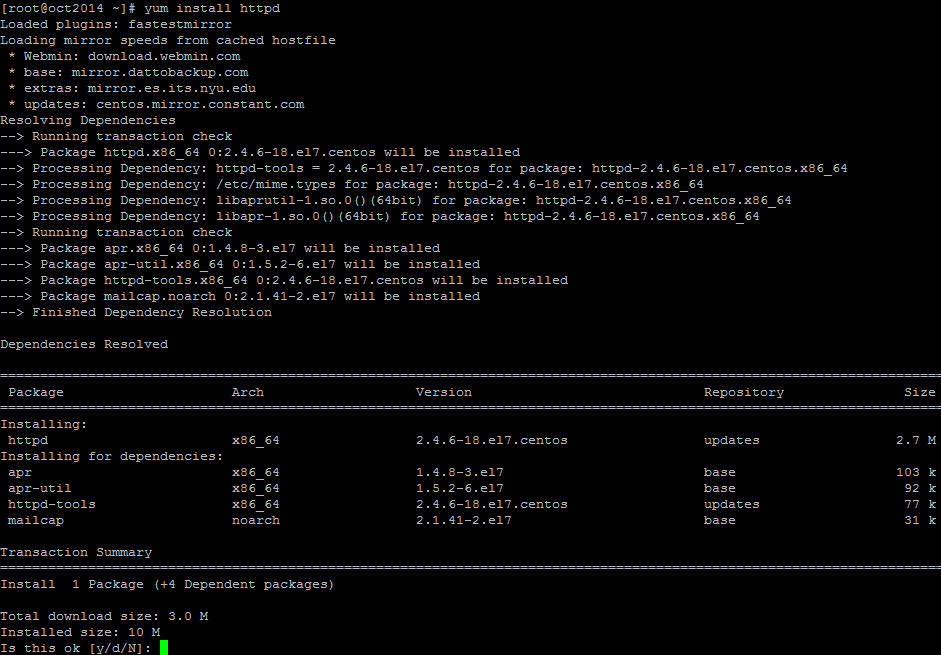
If you see a question such as above, just type 'y ' and press ENTER. Apache installation will continue until it's completed:
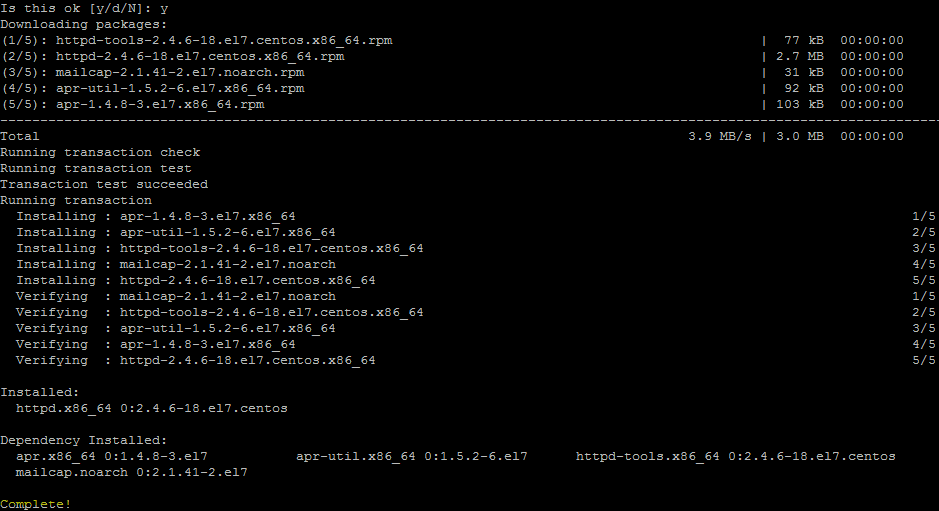
Apache 2.4 has been successfully installed!
After the installation is finished, Apache is installed but not running. We should now make sure that Apache starts automatically at the boot time by executing the following command:
systemctl enable httpd.service
Producing following output:

Now we should actually start the Apache server:
systemctl start httpd.service
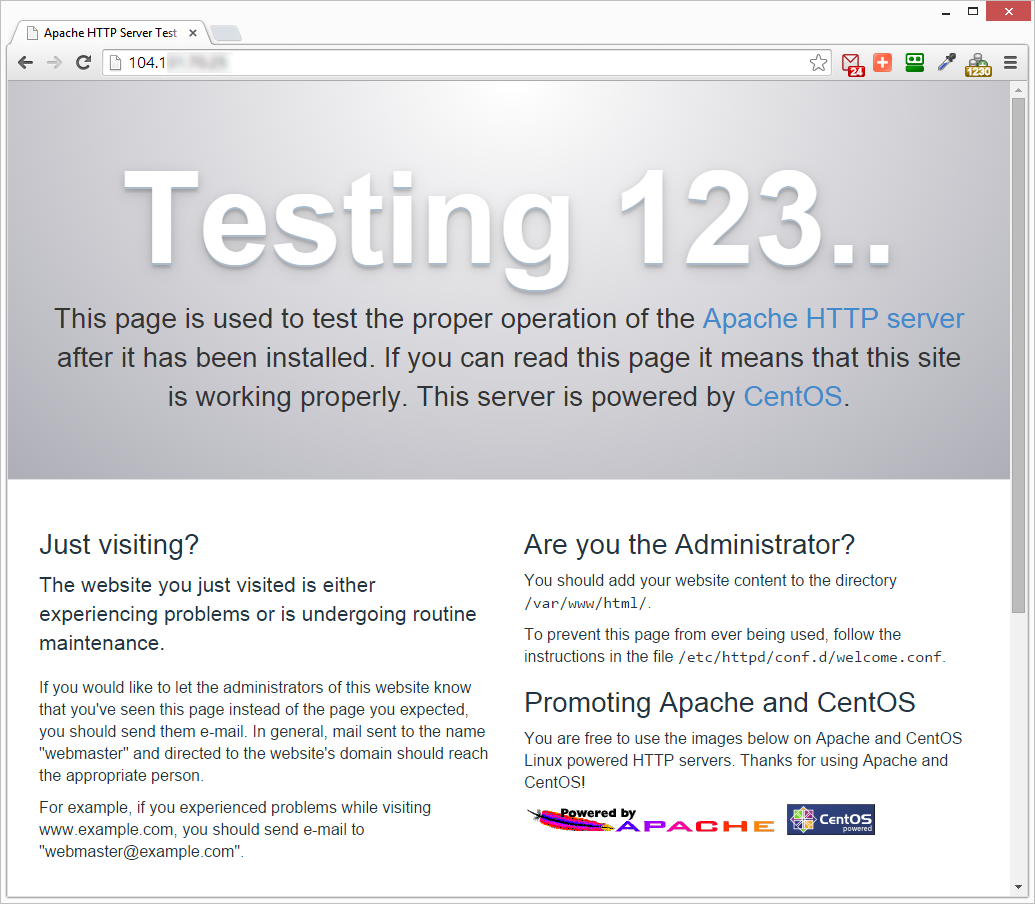
If everything worked well, you should be able to point your browser to http://youripaddress and see the Apache 2.4 welcome page:
Troubleshooting: If the page doesn't load, it's possible your CentOS 7 / RHEL 7 system has enabled FirewallD and you need to create an exception for port 80:
firewall-cmd --add-port=80/tcp --permanent
You can optionally do the same thing using following command:
firewall-cmd --add-service=http --permanent
Now restart FirewallD service and see if the page loads.
systemctl restart firewalld
Now that we have Apache installed and running, we can move onto installing PHP support for Apache.
2. PHP INSTALLATION
Before we install PHP, let's take a look what PHP modules are available, execute following command:
yum search php
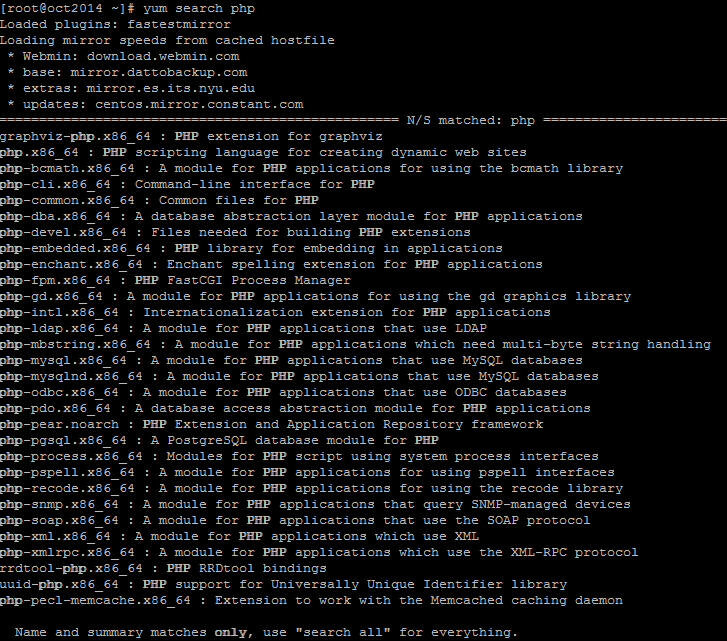
As you can see, there is many to choose from, but we'll need only the following: php, php-mysql, php-pdo, php-gd and php-mbstring. Run following command to install PHP:
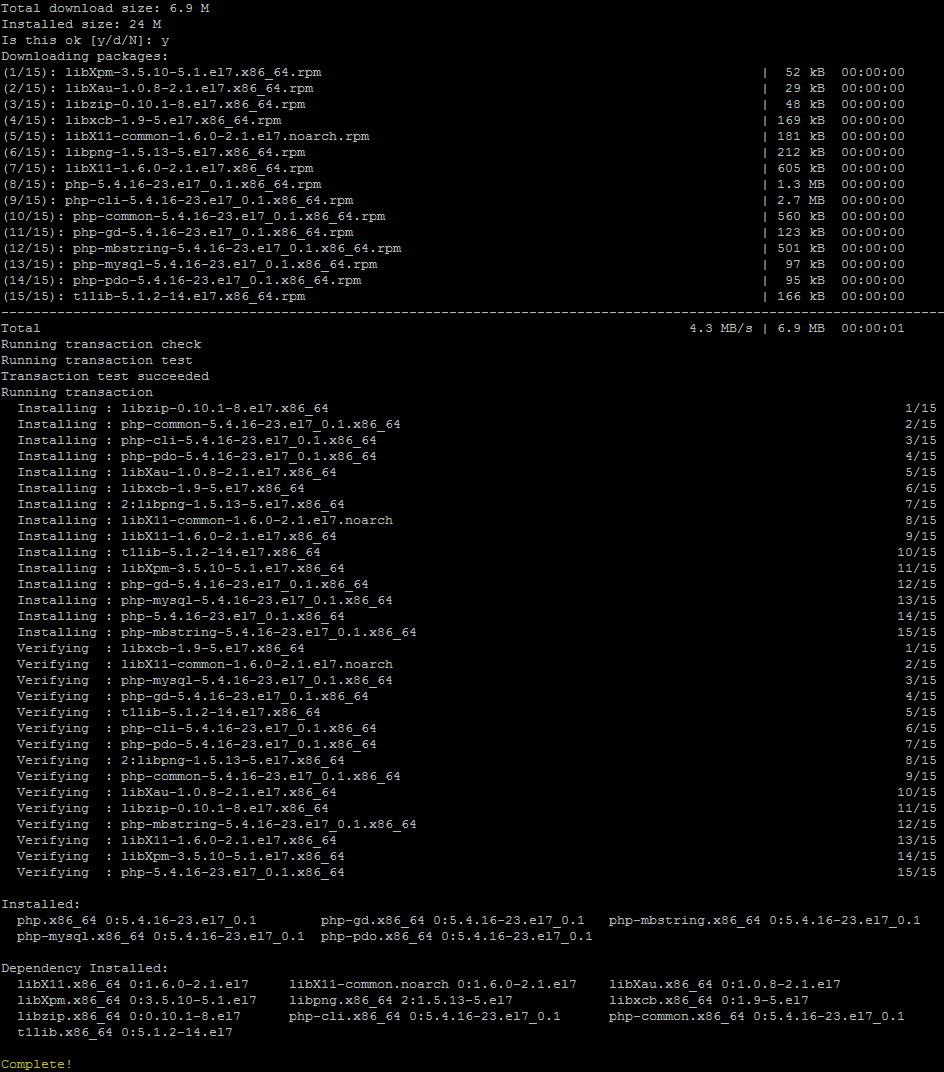
yum install php php-pdo php-mysql php-mbstring php-gd
Process may take a minute, because there'll probably be other dependencies that will need to get installed onto your system, such as libX11, libXau, etc.
Once completed you'll see a similar screen output, confirming that in my case, we've successfully installed PHP Version 5.4.16 and all its dependencies:
One of the basic steps after the installation of PHP is to configure PHP Date and Timezone, otherwise it'll always pop-out in PHP's error log. To do so, we'll need to edit php.ini file and un-comment date.timezone variable.
Let's open php.ini in Nano editor, using following command:
nano /etc/php.ini
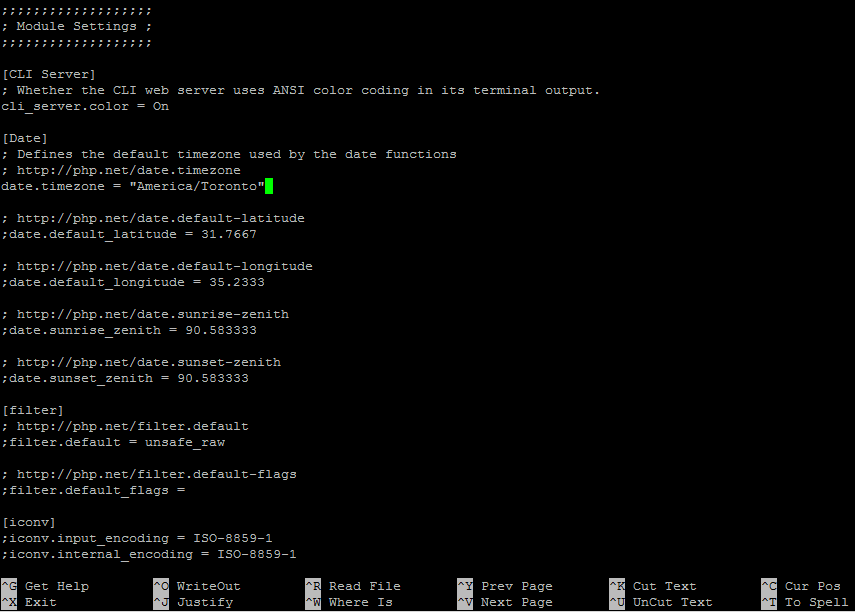
Once the file is open in Nano editor, press CTRL-W, search box will open, then type in: 'date.timezone':

Press enter and edit the date.timezone variable. Full list of PHP supported time zones are listed here: PHP - List of Supported TimeZones
So, for example, if you're in Canada and the city of Toronto, the line should read:
date.timezone = "America/Toronto"
Just like this:
Once done, save the file in Nano editor by pressing CTRL-X, then type Y and press ENTER.
Now it's a good idea to restart Apache, as PHP installation only becomes fully active and available over the web after Apache web server is rebooted:
systemctl restart httpd
Now that the PHP has been installed and integrated with Apache we should test it, to see if the installation was successful. To do so, I recommend running PHP's phpinfo command, which will output information about PHP's configuration.
There is many ways to do this, you can go to /var/www/html and create a file called test.php, with following content:
<?php phpinfo();?>
Or do this automatically, by running following command:
echo "<?php phpinfo();?>" > /var/www/html/test.php
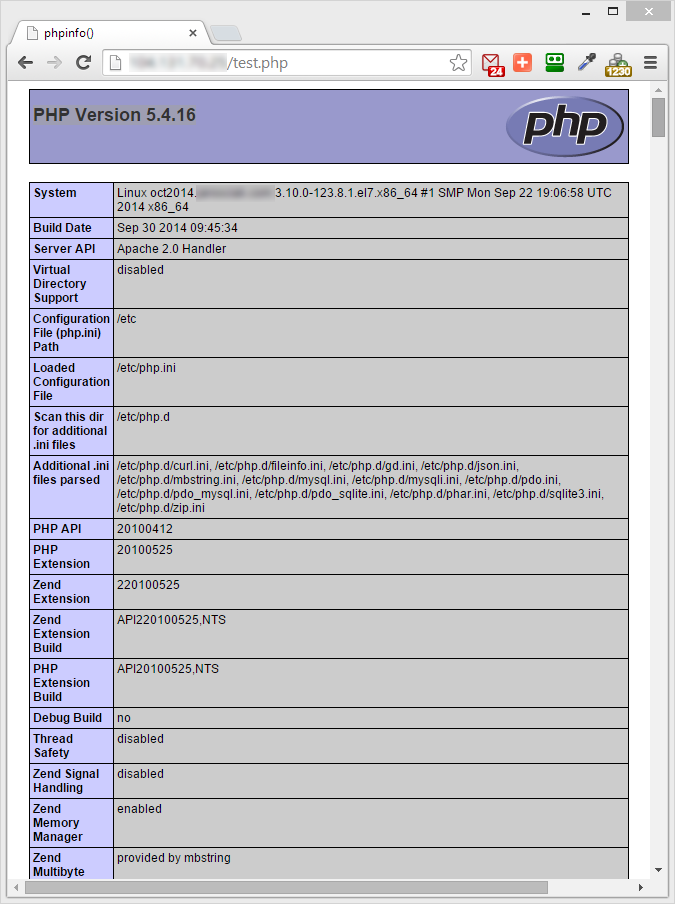
Now point your browser to http://youripaddress/test.php
You should see PHP up and running, reporting all PHP information. This confirms that PHP and also APACHE are running as intended:
Alternatively, if you don't want to create a PHP file on your file system, you can also output phpinfo() command into your SSH console directly - it's just not so pretty and easy to read. To do so, use following command:
php -r "phpinfo();"
If the PHP is working, it'll output something similar to this:

3. MariaDB (MySQL) INSTALLATION
Now that we have Apache and PHP installed, it's time to install MariaDB. Some of you not very familiar with DBs are probably asking, what? Why MariaDB, shouldn't we be installing MySQL now, same as we used to do in RHEL/CentOS 6.x?
A big news here is, that Red Hat Enterprise Linux 7 and thus also CentOS v7 transitioned from Oracle MySQL as "the default implementation of MySQL in " to MariaDB Server. MariaDB is a community-developed fork of the MySQL relational database management system, so for all intents and purposes it's basically the MySQL we're all used to install as part of LAMP stack.
We could talk for a long time about reasons for a switch from MySQL to MariaDB, but basically it comes down to support.
Whereas RHEL/CentOS 6 used to support MySQL packages:
mysql-bench.x86_64 : MySQL benchmark scripts and data
mysql-connector-odbc.x86_64 : ODBC driver for MySQL
mysql-devel.x86_64 : Files for development of MySQL applications
mysql-embedded-devel.x86_64 : Development files for MySQL as an embeddable
mysql-embedded.x86_64 : MySQL as an embeddable library
mysql-libs.x86_64 : The shared libraries required for MySQL clients
mysql-server.x86_64 : The MySQL server and related files
mysql-test.x86_64 : The test suite distributed with MySQL
mysql.x86_64 : MySQL client programs and shared libraries
RHEL/CentOS 7 only supports MariaDB packages:
mariadb-bench.x86_64 : MariaDB benchmark scripts and data
mariadb-devel.x86_64 : Files for development of MariaDB/MySQL applications
mariadb-libs.x86_64 : The shared libraries required for MariaDB/MySQL clients
mariadb-server.x86_64 : The MariaDB server and related files
mariadb-test.x86_64 : The test suite distributed with MariaD
mariadb.x86_64 : A community developed branch of MySQL
So, let's get on with it. Run following command in order to install MariaDB server:
yum install mariadb-server mariadb
Output will display list of installed packages and dependencies:
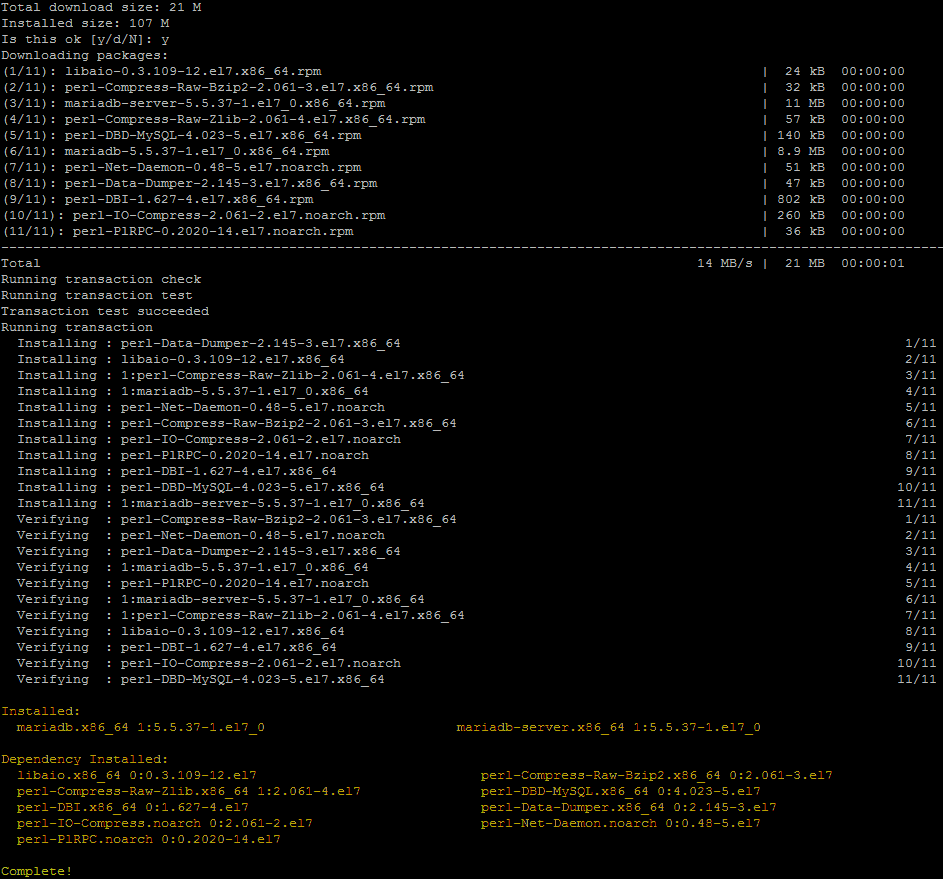
Now that MariaDB has been installed, we can start its service:
systemctl start mariadb
And make sure that it also starts automatically at the boot time:
systemctl enable mariadb
Output of above two commands should look like this:

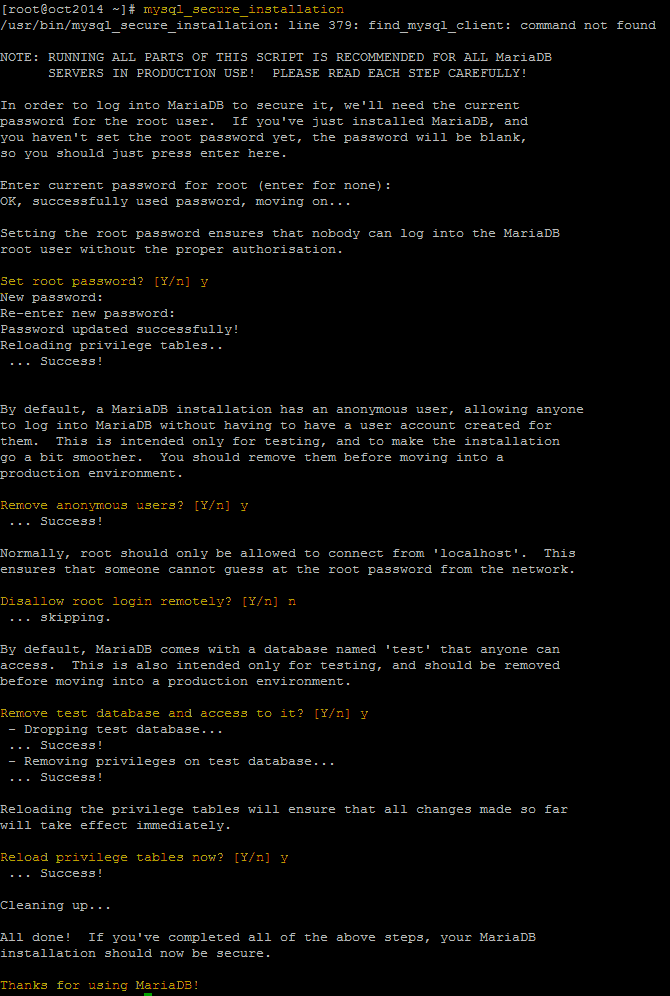
Now that we have a MariaDB database daemon running, we should use mysql_secure_installation script to secure the MariaDB database. We basically need to make sure that our new install has a root password, that the anonymous users were renived and we've also removed the test database pre-installed with MariaDB. Some people also need to disable remote logon by root user (something I don't always require). To do so, run the following command:
mysql_secure_installation
Follow prompts, output should look like this:
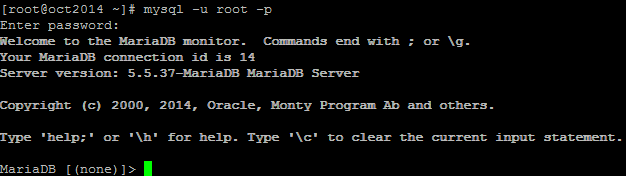
Now that your MariaDB install is running and it's secured, let's see if it works. Login to MariaDB console:
mysql -u root -p
Enter your password and you'll be logged in into MariaDB:
Now run following command and once it lists all size related variables you can quit MariaDB console
MariaDB > SHOW VARIABLES LIKE '%size%';
MariaDB > quit
Output should look like this:

And that is all folks, leave me a message if this was helpful in any way.
--
Note: Those of you, who are using Webmin (instructions for installing Webmin on CentOs 7), should refresh Webmin modules to make sure that you can see and access Apache and MariaDB (MySQL) installations through Webmin's interface ('Servers' section):
