Following are a simple instructions on how to mount Amazon S3 Bucket on CentOS or RHEL v7.x.
In order to mount Amazon S3 bucket, we'll need to install S3FS which is based on FUSE. We’ll use YUM (open-source package-management utility) to do this.
So let’s start with updating YUM packages to make sure we’re getting the latest version of FUSE and S3FS . Run following command:
yum check-update
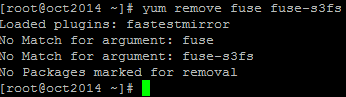
Now that this is done, and just so there are no conflicts during FUSE and S3FS installation, let's remove any fuse-s3fs or fuse packages which are currently installed on the system (if any). Run following command:
yum remove fuse fuse-s3fs
Outcome should look like this - assuming you did not have a fuse system installed:
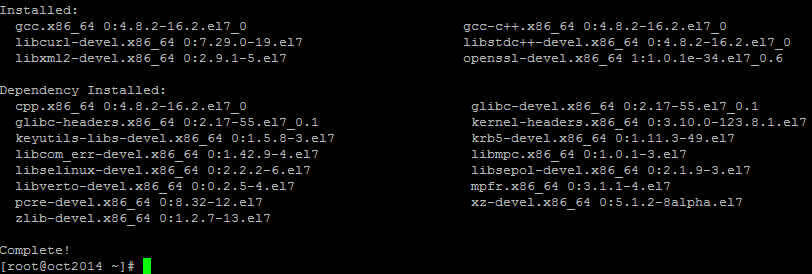
Now that this is out of the way, let's install all dependencies for FUSE and S3FS.
yum install gcc libstdc++-devel gcc-c++ libxml2-devel mailcap curl-devel openssl-devel
You should see something similar to this in your console:
Now that all the dependencies are installed, we'll need to grab the latest version of FUSE and compile it.
Head over to: http://sourceforge.net/projects/fuse/files/fuse-2.X/ to check what's the latest available package.
As of today it's a FUSE version: 2.9.3, so that's what we're going to compile.
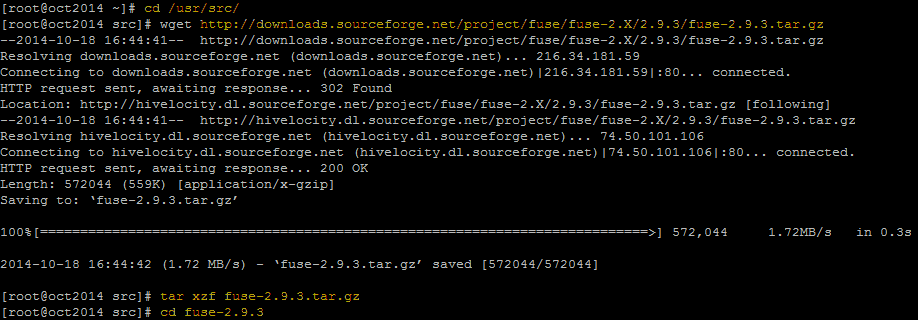
Execute these commands in the same order as below. This will compile FUSE and add it into kernel. On a second line, replace download url with a url of the most recent version you were able to find (in my case: fuse-2.9.3.tar.gz)
cd /usr/src/
wget http://downloads.sourceforge.net/project/fuse/fuse-2.X/2.9.3/fuse-2.9.3.tar.gz
tar xzf fuse-2.9.3.tar.gz
cd fuse-2.9.3<br>
Output should be similar to this:
Now let's continue by executing following command:
./configure --prefix=/usr/local
Note: if you by any chance get the following error: "Please install util-linux version 2.18 or later which supports --fake and --no-canonicalize options in mount and umount":

Don't worry about it, you can safely disregard this warning.
Let's finish the process by executing following commands in the precisely the same order as shown here:
make && make install
export PKG_CONFIG_PATH=/usr/local/lib/pkgconfig
ldconfig
modprobe fuse
Now that we're done with FUSE, let's download and compile latest version of S3FS.
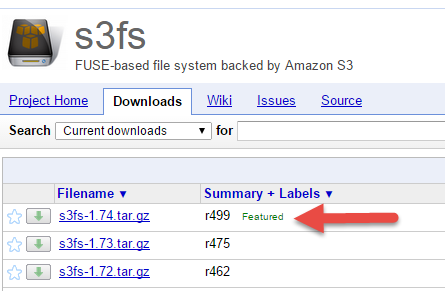
Similarly to FUSE, we'll need to download the most recent version of S3FS first. Head over to https://code.google.com/p/s3fs/downloads/list and mark down the download path for S3FS.
In my case, the latest is version S3FS 1.74:
Adjust the version on a second line according to the latest version available at the time of your own install and run following commands:
cd /usr/src/
wget https://s3fs.googlecode.com/files/s3fs-1.74.tar.gz
tar xzf s3fs-1.74.tar.gz
cd s3fs-1.74
./configure --prefix=/usr/local
make && make install
If you see any warning such as this ("warning: comparison between signed and unsigned integer expressions") ignore it.
Now that FUSE and S3FS are compiled, we will need to get an Access and Secret Keys for our S3 Amazon bucket.
Go over to this url: https://console.aws.amazon.com/iam/home?#security_credential and login with your Amazon credentials if it asks you to do so.
Now you should see the following menu on your screen:
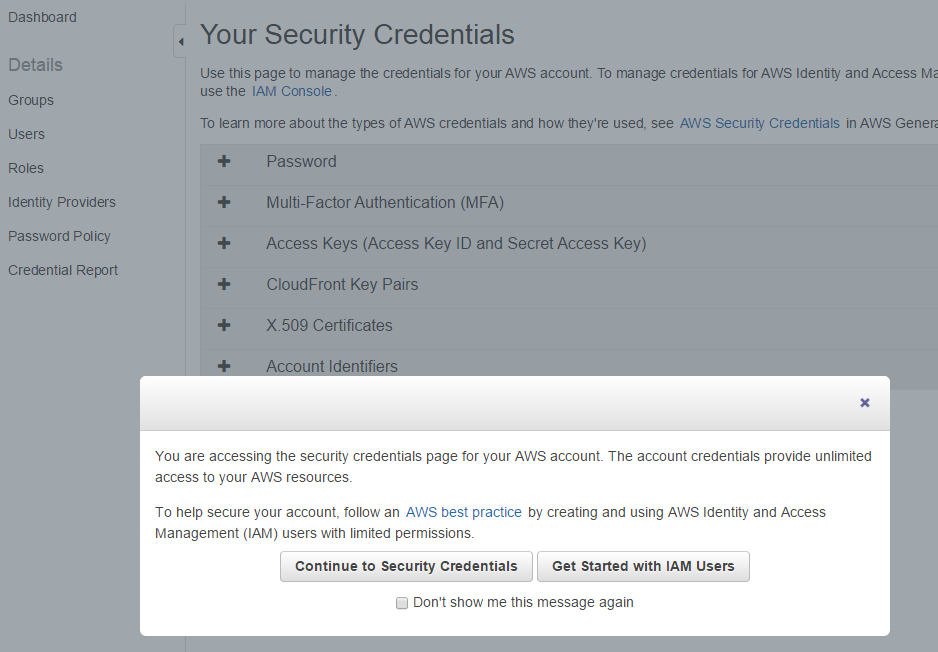
Click on: Continue to Security Credentials option.
Now unroll the third option on the page: "Access Keys (Access Key ID and Secret Access Key)
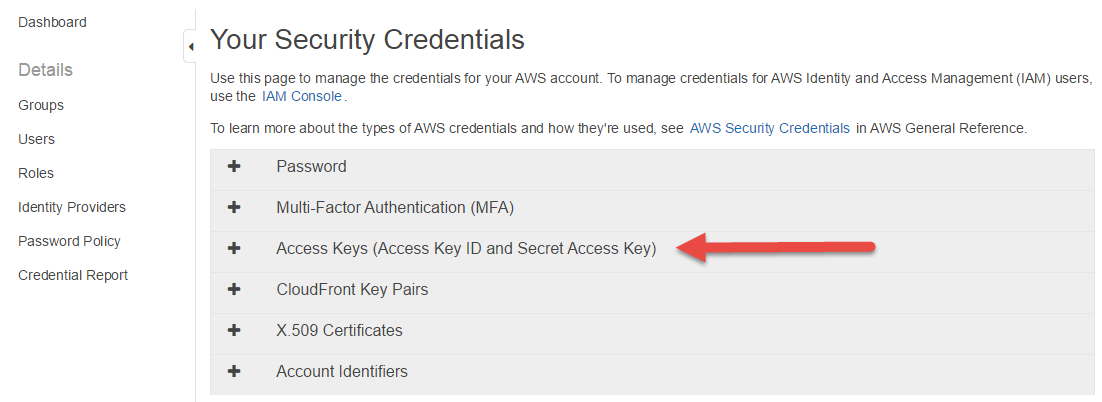
Mark down the AWS Access Key ID and also your AWS Secret Access Key.
Now we will need to configure S3FS with above keys from your S3 Amazon account. Replace ACCESS-KEY-ID and SECRET-ACCESS-KEY in the first line below:
echo ACCESS-KEY-ID:SECRET-ACCESS-KEY > ~/.passwd-s3fs
Execution command will look something like this:

Once done, let's change the permissions on the S3FS password file we've just created:
chmod 600 ~/.passwd-s3fs
Not that everything is setup, let's create a new bucket on Amazon S3 and mount the S3 bucket as a drive on your CentOS or RHEL v7.x system.
Go to https://console.aws.amazon.com/s3/ and click on CREATE BUCKET button.
Screen will present you with options to setup a new bucket. I've called mine: 'centos7backups':
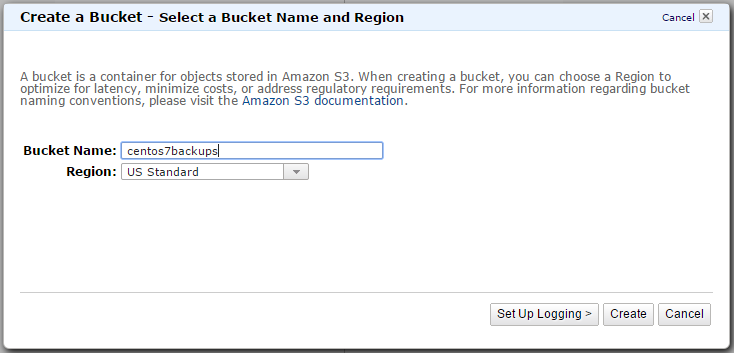
Once you decided on the name, press CREATE button.
Now hop over to your SSH console and execute following commands to mount Amazon S3 bucket as a mount point called /s3bucket.
Make sure that on the last line you've replaced 'centos7backups' (which is my name) with your own S3 bucket name.
mkdir /tmp/cache
mkdir /s3bucket
chmod 777 /tmp/cache /s3bucket
s3fs -o use_cache=/tmp/cache centos7backups /s3bucket
NOTE: If you get an error on the last line, saying:* "s3fs: error while loading shared libraries: libfuse.so.2: cannot open shared object file: No such file or directory":*

Install fuse-libs and run the last command once again, that should resolve the issue. Run following command to do so:
yum install fuse-libs
Then run the S3FS mount command once again:
s3fs -o use_cache=/tmp/cache centos7backups /s3bucket
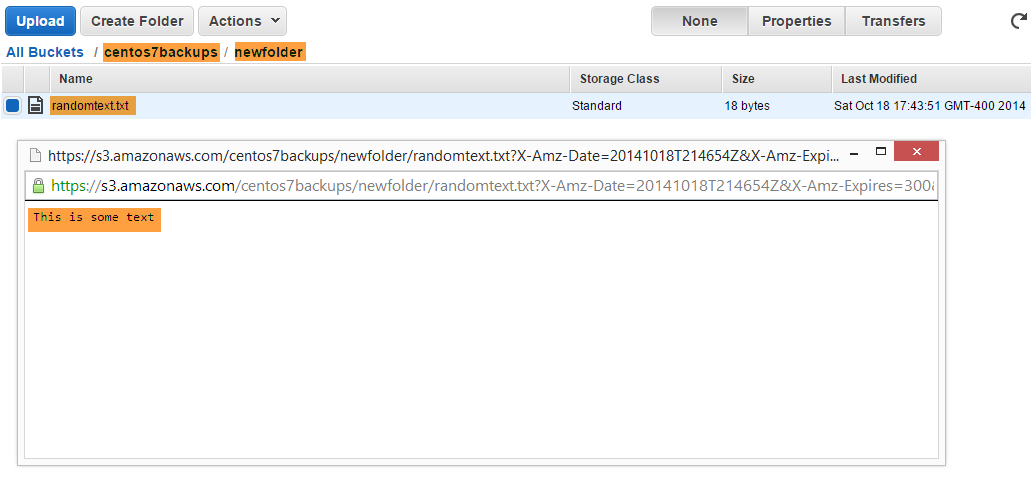
And we're done. We should now be able to access mounted S3 drive. Let's test it by creating a folder on Amazon S3 bucket and some file in it.
cd /s3bucket
mkdir newfolder
cd newfolder
echo "This is some text" > randomtext.txt
Just like this:

Now you can test if the file was actually created by logging into S3 bucket using your web browser.
And there it is, worked like a charm:
—
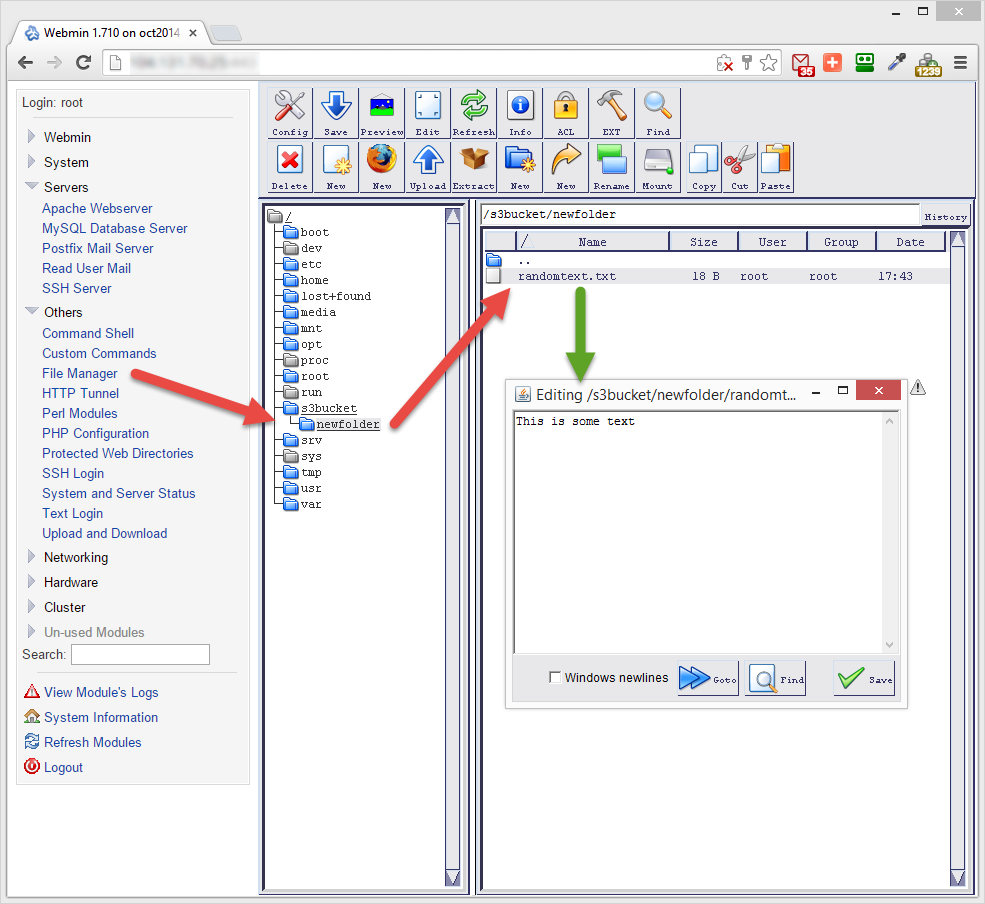
Note: Those of you, who are using Webmin (instructions for installing Webmin on CentOs 7), you can see the Amazon S3 bucket also in your Webmin, under Others/File Manager and then selecting s3bucket folder:
--
Note: If your mounting script doesn't automatically start on server boot, you can create a shell script to do so.
To do so, create a shell script in your home directory. Call it, for example: mounts3.sh
Add a following content to it and save it (make sure to replace 'centos7backups' with your own S3 bucket name):
#!/bin/bash
sleep 90
s3fs -o use_cache=/tmp/cache centos7backups /s3bucket
echo "Amazon S3 bucket connected!"
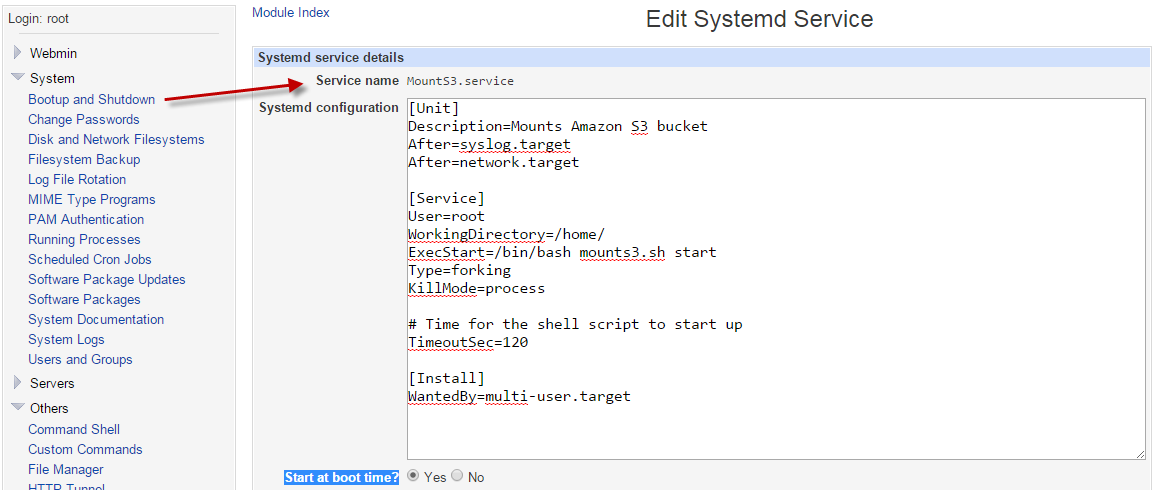
Now it's up to you to schedule this script to make sure it starts on server boot. One way of doing it, is to add it to Systemd.
If you're using Webmin, it's fairly easy to do so. In Webmin, go to 'System/Bootup and Shutdown' and click on 'Create a new systemd service.'
Name your service, for example: MountS3 and add the following content into SystemD configuration box:
[Unit]
Description=Mounts Amazon S3 bucket
After=syslog.target
After=network.target

[Service]
User=root
WorkingDirectory=/home/
ExecStart=/bin/bash mounts3.sh start
Type=forking
KillMode=process

# Time for the shell script to start up
TimeoutSec=120

[Install]
WantedBy=multi-user.target
Check the YES radio box for option: 'Start at boot time?'
Setting should look like this:
Now save the change and reboot your server, Amazon S3 bucket will be automatically mounted within 2 minutes of your server reboot.
--
Enjoy. If this was in any way helpful, please leave a comment in the box below.
--
Those